If you’re looking for a free smart image resizing tool that helps you quickly optimize your photos for web pages, social media, blogs, or e-commerce, this guide will walk you through everything you need to know. Proper image resizing improves load speed, enhances user experience, and boosts SEO — all without sacrificing visual quality.
What Is the Free Smart Image Resizing Tool?
A free smart image resizing tool is an online service that lets you change the dimensions of your images with minimal effort and without loss of quality. Users can resize photos for specific platforms — such as blog headers, product thumbnails, Instagram posts, or banner ads — while keeping file size low for faster page load times (a key SEO factor).
Most online image resize tools work by letting you upload an image, choose the desired resolution or aspect ratio, and then download the resized version instantly. These tools are commonly free, require no software installation, and support popular formats like JPEG, PNG, and WebP.
Why Use a Free Smart Image Resizing Tool?
Using a smart image resizing tool has several advantages:
• Reduced file size improves page performance and SEO ranking.
• Easy resizing ensures images fit perfectly on mobile or desktop screens.
• No technical skills required — just upload and choose dimensions.
• Saves time compared with manual resizing in complex software.
Step-by-Step Guide: How to Use the Free Smart Image Resizing Tool
Below is a simple, human-friendly guide to using your image resizing solution effectively:
Step 1: Open the Tool
Step 2: Upload Your Image
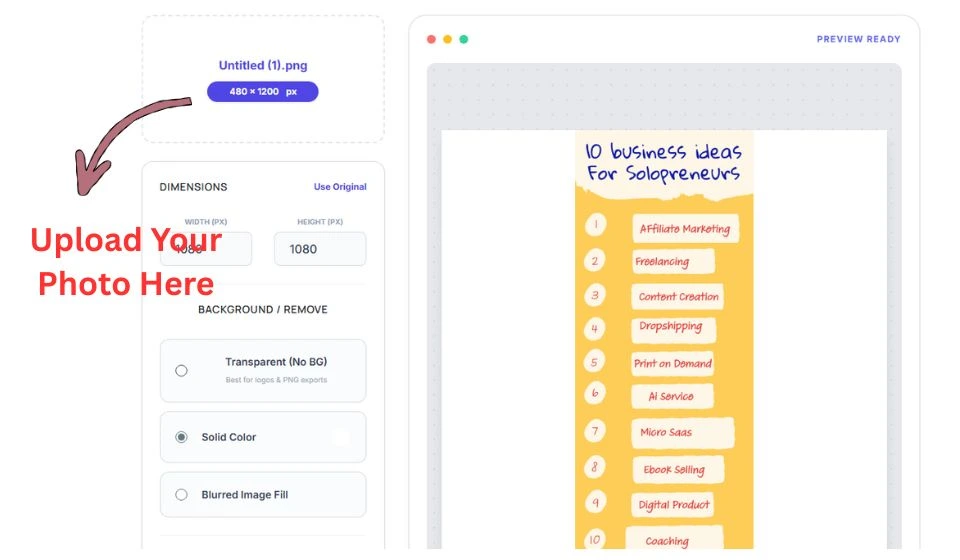
Inside the tool interface, look for an upload button or prompt that asks you to select an image.
Click Upload and choose the image from your device.
Ensure the image you upload is high resolution so the resized output stays clear and sharp.
Step 3: Choose Resize Parameters
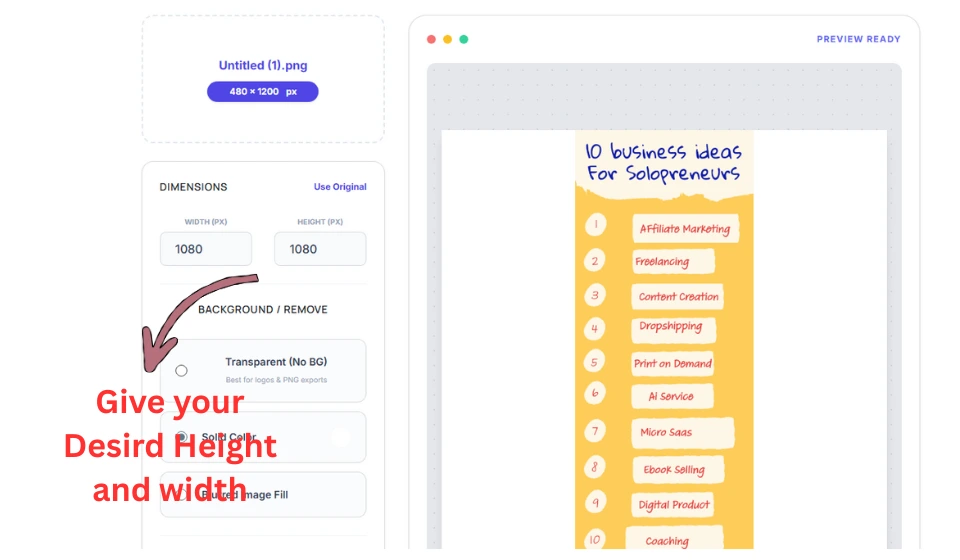
Enter the target width and height in pixels. Decide whether you want to maintain the original aspect ratio so the image doesn’t stretch or squish.
If you are resizing for a specific platform (e.g., Instagram, YouTube thumbnail), pick preset size like 1080*1080 etc.
Step 4: Apply Smart Resizing
Use any smart or auto crop/resize settings if the tool offers them — this ensures the most important parts of the image are preserved.
Double-check that the new dimensions fit the target use case (e.g., header banner, mobile view, etc.).
Step 5: Select Background Type
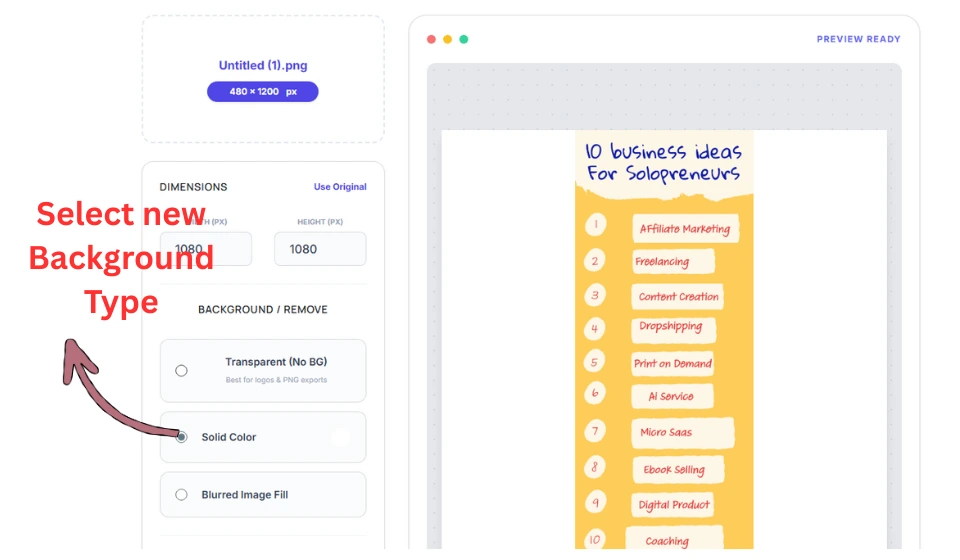
Select your new image background color or blur it or transparent the background
Step 6: Download Your Resized Image
Once processing is complete, click Download to save the optimized image to your device.
Always preview the downloaded file to verify quality and dimensions before adding it to your website or social media.
Best Practices for Smart Image Optimization
To get the most out of your free smart image resizing tool, follow these guidelines:
• Choose the right format: Use WebP for web pages when possible; use PNG for images requiring transparency; use JPEG for photos.
• Keep aspect ratio consistent: Maintaining proportions avoids distortion.
• Test page speed: After resizing, check your website’s load time — smaller images usually load faster.
• Optimize for each platform: Each social media site has ideal image sizes; adjust accordingly to avoid cropping.
• Use descriptive file names: Rename your image files with relevant SEO keywords before uploading (e.g., free-smart-image-resizing-tool.jpg).